
Have you ever developed a mobile application that required to perform several tasks in the background before it loads? One way to go around this need is to put a loading screen. There are a few articles out there that describe how to do it for Android and iOS and how to perform the action before the flutter framework loads. However, the flutter framework doesn’t take long to load so one can still work with flutter to display the loading screen.
This article describes a basic loading screen that was developed for one of our projects. We started with the work of Karim Mohamed, https://pub.dartlang.org/packages/splashscreen, and modified it to execute tasks in the background with the ability to update the screen messages from the background tasks.
Step 1: Creating a StatefulWidget
The loading screen will be developed as a Material Widget in Flutter. As with any page in Flutter, we start with determining whether to create a Stateful or Stateless widget. The core requirement for the loading screen is to show messages while the background tasks are executed. As to show the message updating in real-time, we require the screen to refresh when there is a new message. Flutter Stateful Widgets provide the mechanism to refresh the widget paint handler whenever the state is updated. As this is a desirable feature, we will develop the loading screen by extending the StatefulWidget.
class LoadingScreen extends StatefulWidget {
@override
LoadingScreenState createState() => LoadingScreenState();
}class LoadingScreenState extends State<LoadingScreen> {
@override
Widget build(BuildContext context) {
}}
Step 2: Extending State class to contain the loading message
Following the single responsibility concept and SOLID principle direct references to the Loading Screen State need to be avoided. A new class extending the State class is created, called MessageState.
import 'package:flutter/scheduler.dart';
import 'package:flutter/widgets.dart';
class MessageState<T extends StatefulWidget> extends State<T> {
String _message;/// Setter for the message variableset setMessage(String message) => setState(() {
_message = message;
});
/// Getter for the message variableString get getMessage => _message;
}
Looking the purpose of this class from the lens of the Memento concept and we consider the MessageState class as the Memento, the Caretakers which are the classes called by the Originator, don’t need to know how the state is managed but only that it exists.
Now that we have a class representation for our widget state, we update the LoadingScreenState inheritance to use the MessageState class.
class LoadingScreenState extends MessageState<LoadingScreen>
Step 3: Prepare the Widget display structure
For the purpose of this article, the loading screen will consist of a background image, a title for the application, a spinner loader and an area for the messages beneath the loader.
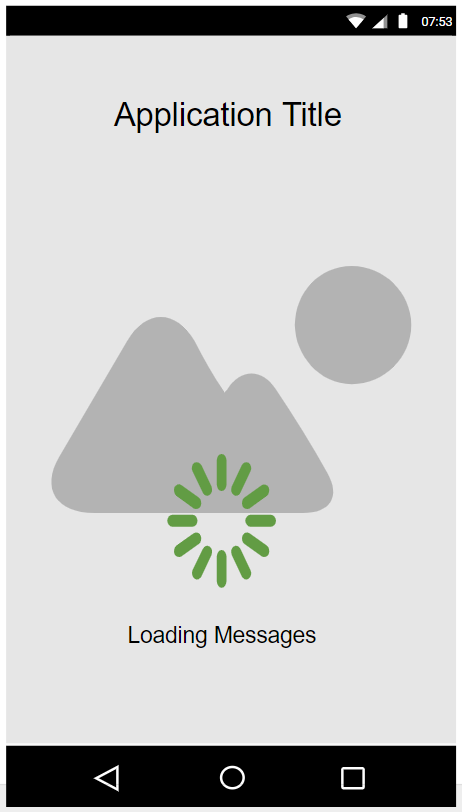
Loading Screeb Mockup
Widget build(BuildContext context) {
return Scaffold(
backgroundColor: Colors.black,
body: new InkWell(
child: new Stack(
fit: StackFit.expand,
children: <Widget>[
/// Paint the area where the inner widgets are loaded with the/// background to keep consistency with the screen backgroundnew Container(
decoration: BoxDecoration(color: Colors.black),
),
/// Render the background imagenew Container(
child: Image.asset(‘assets/somebackground.png’, fit: BoxFit.cover),
),
/// Render the Title widget, loader and messages below each othernew Column(
mainAxisAlignment: MainAxisAlignment.start,
children: <Widget>[
new Expanded(
flex: 3,
child: new Container(
child: new Column(
mainAxisAlignment: MainAxisAlignment.start,
children: <Widget>[
new Padding(
padding: const EdgeInsets.only(top: 30.0),
),
‘Application Title’,],
)),
),
Expanded(flex: 1,
child: Column(
mainAxisAlignment: MainAxisAlignment.center,
children: <Widget>[
/// Loader Animation WidgetCircularProgressIndicator(valueColor: new AlwaysStoppedAnimation<Color>(
Colors.green),
),
Padding(padding: const EdgeInsets.only(top: 20.0),
),
Text(getMessage),
],
),
),
],
),
],
),
),
);
}}
Step 4: Handle the background tasks
Using the State class initState method, we kickoff an asynchronous process that executes the tasks sequentially.
/// Initialise the state@override
void initState() {
super.initState();
/// If the LoadingScreen widget has an initial message set, then the default/// message in the MessageState class needs to be updatedif (widget.initialMessage != null) {
initialMessage = widget.initialMessage;
}/// We require the initializers to run after the loading screen is renderedSchedulerBinding.instance.addPostFrameCallback((_) {
runInitTasks();
});
}/// This method calls the initializers and once they complete redirects to/// the widget provided in navigateAfterInit@protected
Future runInitTasks() async {
/// Run each initializer method sequentiallyFuture.forEach(widget.initializers, (init) => init(this)).whenComplete(() {
Navigator.of(context).pushReplacement(new MaterialPageRoute(
builder: (BuildContext context) => NextScreen()));
});
}
The most important line in the code above is the SchedulerBinding.instance.addPostFrameCallback line. The addPostFrameCallback ensures that the asynchronous process starts only after the first rendering of the screen has been completed. This ensures that the user sees something on the screen rather than rendering at the end.
Finally the section Navigator.of(context).pushReplacement tells the application to replace the loading screen widget with the widget of choice, in this case the NextScreen widget.
The code above is simplified to explain the structure and code. A proper Flutter Plugin structure and code solution can be found in our github: https://github.com/kdemanuele/Flutter-Loading-Screen.
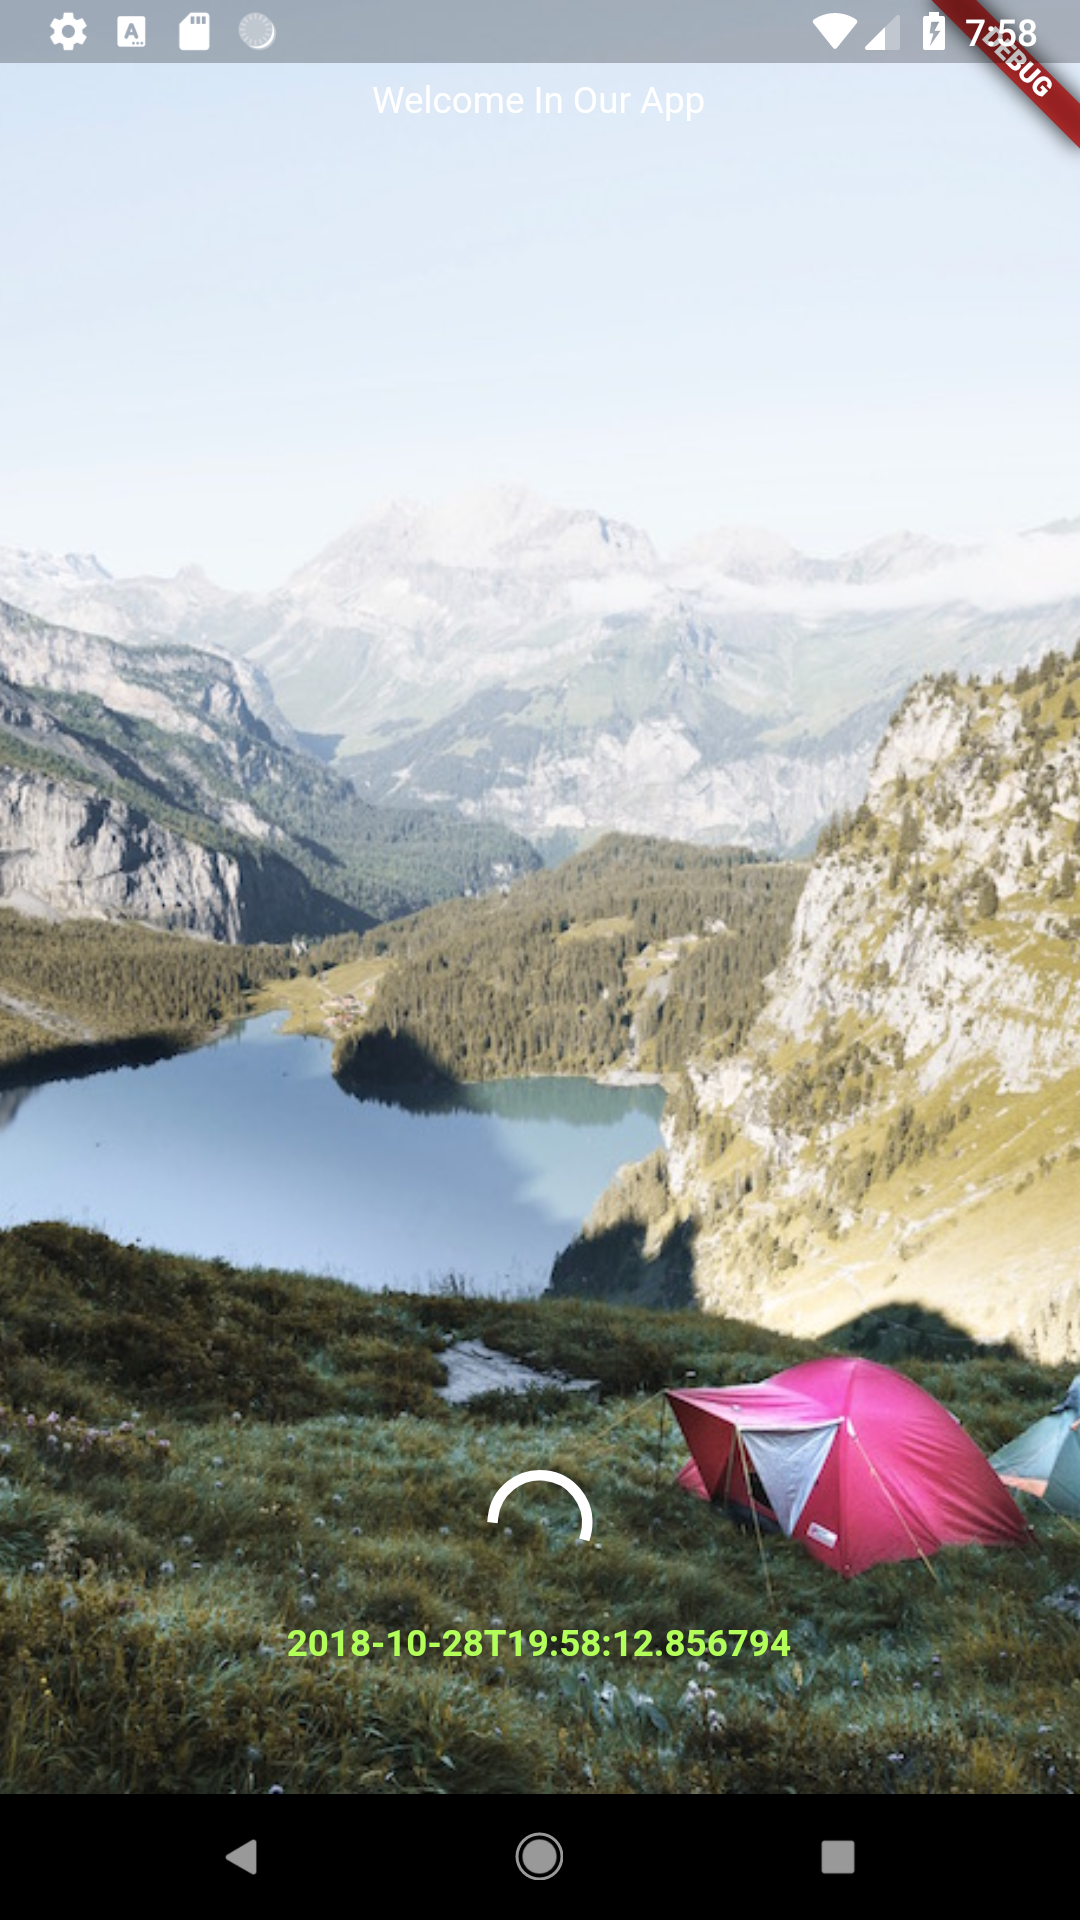
Screenshot of the Loader Screen in the plugin example