
Power Platform Dataflows are a solution to import large data into DataVerse. Although they come with a few limitations, in some scenarios they can be a good alternative for recurring imports without the need to go through Azure Data Factory or Azure Logic App expenses.
This article assumes that the reader has some background in Power Platform, Power Query and Azure. Several Microsoft articles and learning documents are available to get the background information.
Preparing the data
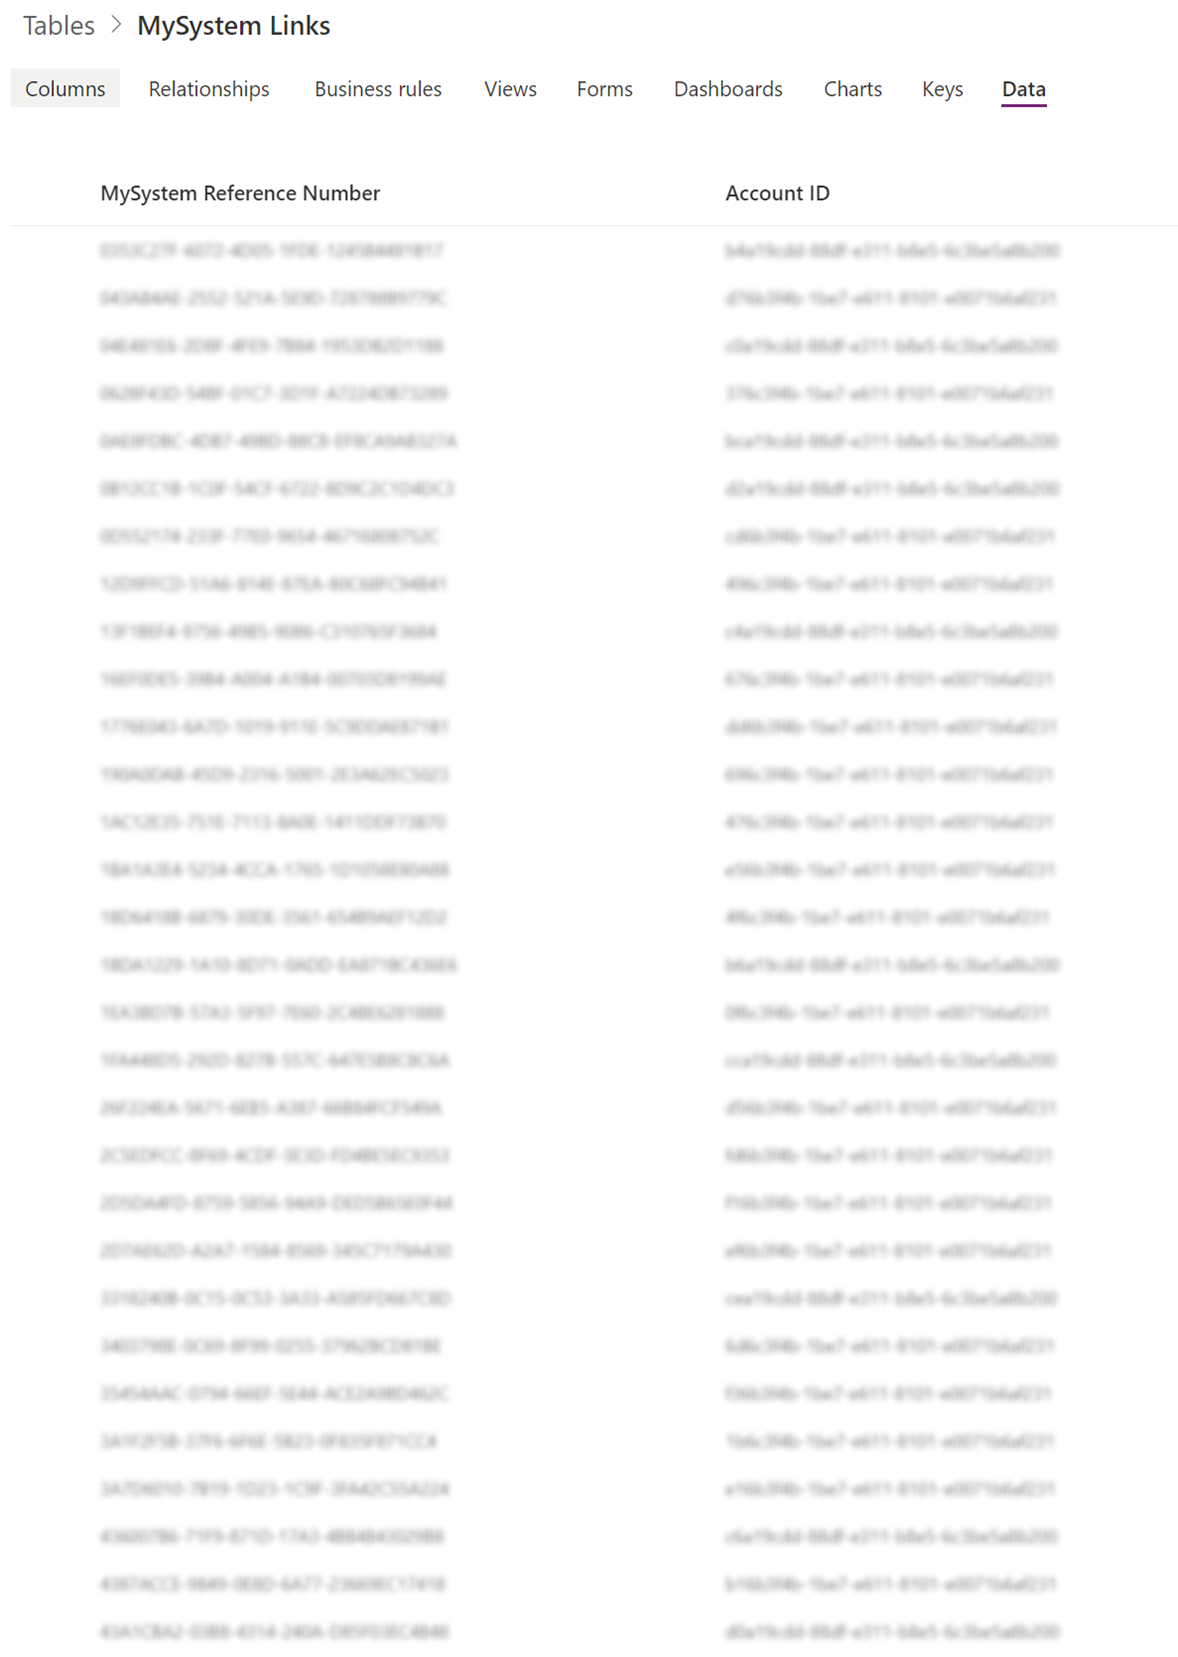
This article will concentrate on how data validation can be performed against DataVerse data during a dataflow import. For this purpose, a fictitious system called “MySystem” will be assumed to be the source of the import data. MySystem records need to be linked with the Account records in D365 CE, which uses the account table in DataVerse. For the simplicity of creating the linking between the Accounts table and MySystem IDs, a separate DataVerse entity is created. The new table called “MySystem Links” has been created with the MySystem Reference Number as a primary column and another column to hold the Account ID.

One would question why the Account ID column is not a lookup linked to the Account Table. To use lookup fields, one needs to use another field instead of the Account ID. As the sample data doesn’t contain an Account Number for each record and matching would have needed to be on the Account Name column, which is easily typed wrong or different. To demonstrate the validation using dataflow it was easier to just keep the Account ID as text.
The MySystem Links table needs to be populated. To do this, the account table record ids has been exported using the OData URL, https://<org_name>.crm4.dynamics.com/api/data/v9.1/accounts?$select=accountid. The data exported was then placed in Excel and a corresponding GUIDs, to simulate the MySystem Reference Numbers, were created.
Once the sample data has been generated in Excel, a Dataflow to import the data into DataVerse was created.
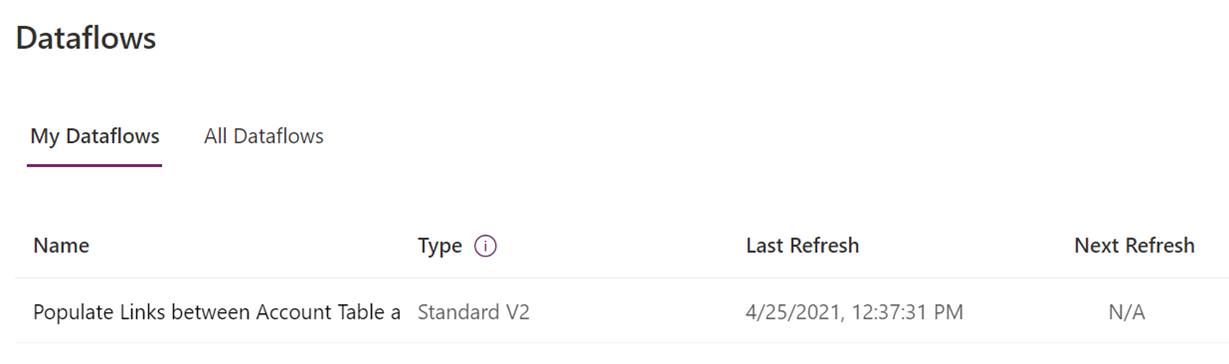
On 97 Records, the execution took around 2 minutes.

Checking the table, one can confirm that the data was properly inserted.
Now that the data has been made available in DataVerse, it is the time to turn the attention to the core focus of this article.
Building the import flow and validations
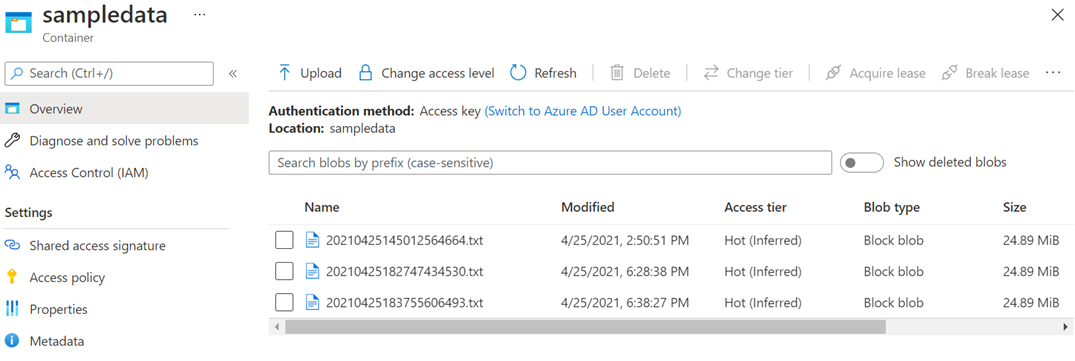
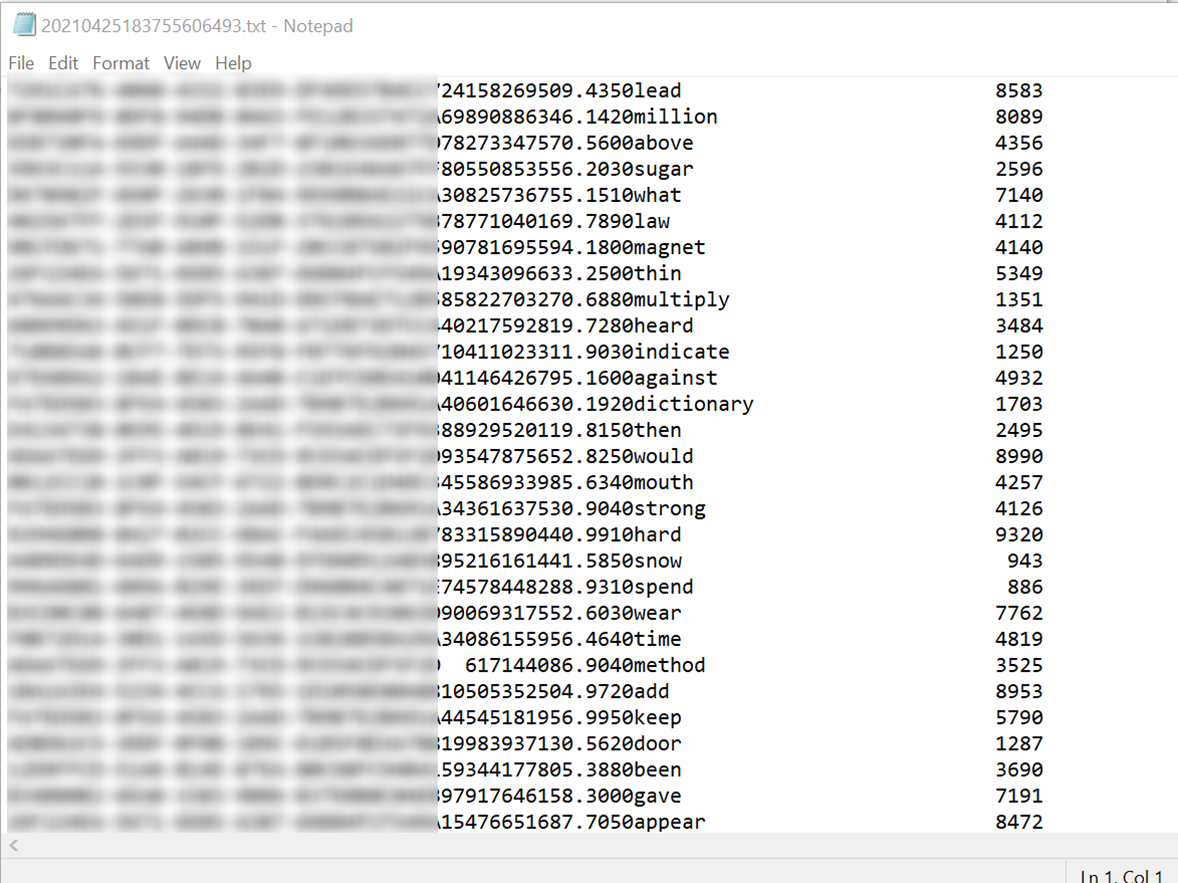
The data that will be imported for this example will be stored in an Azure Storage V2, Blob container and only the most recent file is read. The file holding the data is a fixed-width delimited file. The column widths used for these sample files are:
- 36 Characters for the MySystem Reference Number
- 16 Characters for the 4 decimal places Amount field
- 30 Characters to hold a random word
- 4 Characters to hold a random number
To create the file, Excel can be used and the document saved as fixed-width delimited file or by creating some simple Python file to generate the data.
Once the data is available the first step to create the import flow is to query the Azure storage and obtain the most recent file. To get the recent file and parse it, the AzureStorage.Blobs function is used. Then once the latest file is obtained, the file contents are converted to a Table called Transactions.
let
  Source = AzureStorage.Blobs("https://<storagename>.blob.core.windows.net/sampledata"),
  LatestFile = Table.First(Table.Sort(Source, {{"Date modified", Order.Descending}})),
  Navigation = LatestFile[Content],
  #"Imported text" = Lines.FromBinary(Navigation),
  Transactions = Table.FromList(#"Imported text", Splitter.SplitTextByLengths({36,16,30,4}), {"ReferenceNumber", "Amount", "Word", "SomeNumber"}, null, ExtraValues.Error)
in
  Transactions
The next step is to validate the transactions against the accounts in D365. Looking at the Data Source connectors available, it becomes clear that there is no connector to read from DataVerse directly.

An alternative method needs to be used, and the Document https://docs.microsoft.com/en-us/power-query/connectors/dataverse#alternative-dataverse-connections provides 3 options. The first preference to test was to use the third option in the document, the Tabular Data Stream (TDS) method. This would allow the DataVerse tables to be queried directly. Following the steps to use the SQL Database Connection and using the Organisation URL as suggested, the login failed with Invalid Credentials.

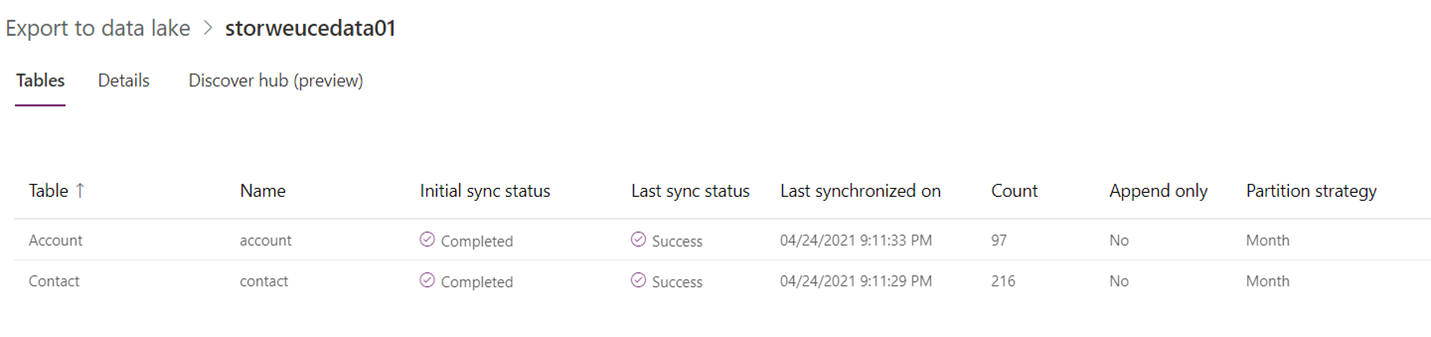
The second approach attempted was to use the Export to Data Lake, this looks to be a good option to avoid the limitations of OData. However, once again several attempts with different setup and configurations resulted in the Dataflow connection to persistently fail.

The next attempt and the only one remaining is to use the OData connectivity. Using the OData connector, the MySystemLinks and the Account tables data is retrieved. The data retrieved is then joined to create one table.
let
  Links = OData.Feed("https://<org_name>.crm4.dynamics.com/api/data/v9.1/new_mysystemlinkses?$select=new_referencenumber,new_accountid", null, [Implementation = "2.0"])
in
  Links

let
  Account = OData.Feed("https://org360697b9.crm4.dynamics.com/api/data/v9.1/accounts?$select=name,accountid", null, [Implementation = "2.0"]),
  #"Merged queries" = Table.NestedJoin(Account, {"accountid"}, MySystemLinks, {"new_accountid"}, "MySystemLinks", JoinKind.LeftOuter),
  AccountLinkedDetails = Table.ExpandTableColumn(#"Merged queries", "MySystemLinks", {"new_referencenumber"}, {"new_referencenumber"})
in
  AccountLinkedDetails
Note, working with actual systems it is possible to have the external system IDs added to the Account table as Account Number.
With all the data needed at hand, validation can be implemented.
Validation 1: Processing Only Matched Data
Processing the valid records from transactions is now a matter of joining the data from D365 and the transaction file, using the “INNER JOIN” approach. This will eliminate any records on both sides that don’t have a corresponding record. The data can then be manipulated to format the result to the table where the data is being pushed.
For the article the destination table, has been defined to hold the transaction data as it is submitted.

let
  Source = TransactionFile,
  #"Merged queries" = Table.NestedJoin(Source, {"ReferenceNumber"}, Accounts, {"new_referencenumber"}, "Accounts", JoinKind.Inner),
  #"Changed column type" = Table.TransformColumnTypes(#"Merged queries", {{"ReferenceNumber", type text}, {"Amount", type number}, {"Word", type text}, {"SomeNumber", Int64.Type}}),
  #"Expanded Accounts" = Table.ExpandTableColumn(#"Changed column type", "Accounts", {"name", "accountid"}, {"accountname", "accountid"})
in
  #"Expanded Accounts"
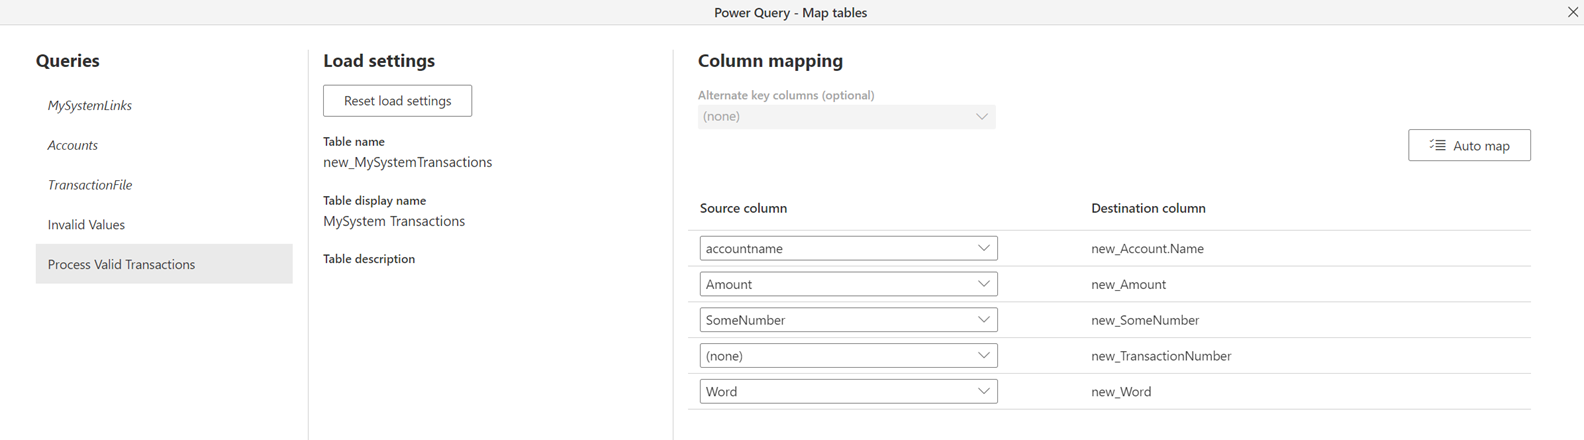
Working with the Lookup Column in the Destination Table
When pushing data to a table using a dataflow, it is possible to push a Lookup value. In DataVerse tables Lookup columns store the record ID of the linked record. However, trying to push the record ID to the column in dataflows is not possible. To get around this, an alternative key on the linked destination table is to be used. When setting up the destination table mappings, the Lookup column will show up with the name of the linked Table followed by the alternative key. This will allow the Lookup value to be populated automatically.
Notice the accountname mapping to new_Account.Name in Figure 12.
Validation 2: Reporting on Unmatched Data
Like processing the valid records, using a LEFT or RIGHT OUTER JOIN, it is possible to identify which records in the transactions refer to Accounts not in DataVerse. Once the data is retrieved, it needs to be stored in a new table, as it is not possible to send out an email or push the data back to Azure. The later can than be achieved by creating a Power Automate that can do any pre-processing on the unmatched records.
let
  Source = TransactionFile,
  #"Merged queries" = Table.NestedJoin(Source, {"ReferenceNumber"}, Accounts, {"new_referencenumber"}, "Source", JoinKind.LeftAnti),
  #"Removed columns" = Table.RemoveColumns(#"Merged queries", {"Amount", "Word", "SomeNumber", "Source"}),
  #"Removed duplicates" = Table.Distinct(#"Removed columns", {"ReferenceNumber"}),
  #"Added custom" = Table.AddColumn(#"Removed duplicates", "GroupIndex", each 1),
  #"Grouped rows" = Table.Group(#"Added custom", {"GroupIndex"}, {{"Entries", each Text.Combine([ReferenceNumber],","), type text}}),
  #"Invalid Entries" = Table.FromRecords({[Timestamp = DateTime.LocalNow(), Entities = List.First(#"Grouped rows"[Entries])]}, type table[Timestamp = DateTime.Type, Entities = Text.Type])
in
  #"Invalid Entries"
The code sample above uses the Table.Group method to create a comma-separated list of the records. To make the grouping work, a column, named GroupIndex with a value of 1 is created. This will ensure that all records will be grouped in 1 record.
The final view of the import flow

Conclusion
It is possible to create validations of imports using Dataflow, the trick is to use OData to obtain the data from DataVerse as there is no other connector. Then using standard SQL Join concepts the records can be matched or unmatched accordingly.
References
- Connect to Analytics data by using the Power BI OData feed
- OData Feed command with query and options no working
- Power Query Text/CSV
- Use SQL to query data
- PowerQuery to Convert List of Records to Delimited String
- How to map a Lookup field in a Power Platform Dataflow
- 1,000 most common US English words
- Power Query Current Date Filter