
A simple experiment that is fun and easy to do is to see salt crystals under the microscope. It requires only a microscope, a couple of slides, salt solution, and time.
In this post we will go through the preparation stage and then show off some photos from the results. Let’s go!
Preparation
- Create a salt solution by mixing a teaspoon of table salt in 150ml of water (it is not necessary to be exact, the importance is that you have a concentrated solution.) Stir well and ensure that the salt is dissolved in the water.
- Keep the solution in a sunny space and let the water evaporate. After a couple of days you will see crystal formation at the bottom of the beaker (or jars where you created your solution).
- Once you see salt crystals at the bottom, empty the beaker and scrape some salt. Gently, using a tweezers pick up some salt crystals and place them on a microscope slide.
- Observe the crystals under the microscope.
Notes
- We need to create a solution to observe crystals because it is difficult to see large structures under home microscopes (see photo 1). Thus by dissolving them in water, we will flatten their structure and makes it possible to observe the structures.
- You can accelerate the process by heating the beaker over a bunsen burner. If you do so, make sure that your beaker is heat resistant and you exercise safety to avoid any burns.
- Keep same solution ratios if you are going to compare different types of salts. Label your solutions respectively.
Results
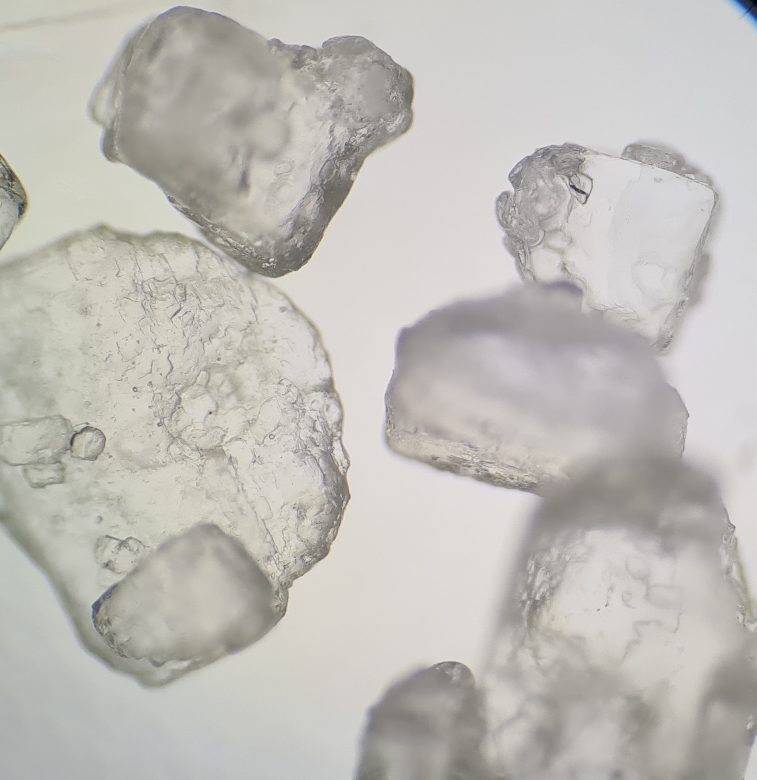
Photo 1: Sea salt crystals

Photo 2: Flattened salt crystals
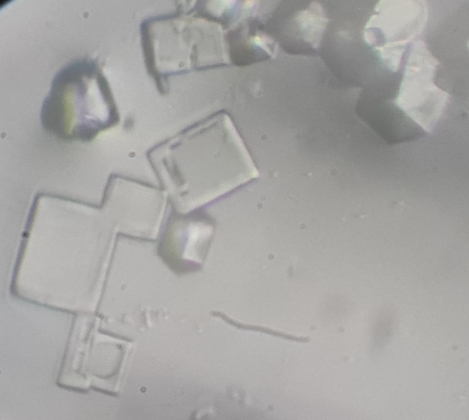
Photo 3: Salt crystals
Links
Here are some links that you can find useful to learn more about the subject: