Terraform is a HashiCorp project that allows Infrastructure to be deployed using code. By keeping a state of the environment and the changes in the terraform code, the infrastructure can be deployed or update.
Step 1: Installing Terraform
Terraform can be installed on different operating systems, Windows, Linux or iOS (Mac). The instructions can be found on terraform website.
Step 2: Install the Azure CLI
Similar to Terraform, the Azure CLI can be installed for any system. Installation steps can be found on Microsoft Azure CLI Documentation page
Step 3: Login in Azure Tenant
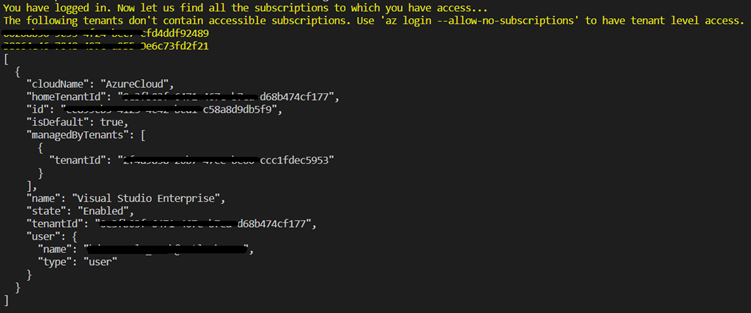
Logging in Azure can be done over the command line for local execution of terraform. This can be done by running the command az login
The command will open a browser pointing to the Microsoft login page. Once logged in the page will redirect to the Microsoft documentation.
Step 4: Create the terraform scripts
For demonstration purposes, a script to create a storage account will be defined in this section.
provider "azurerm" {features {}}
resource "azurerm_resource_group" "demo_resource" {name = "demo-resource"
location = "West Europe"
}
resource "azurerm_storage_account" "demo_account" {name = "demostorageaccount"
resource_group_name = azurerm_resource_group.demo_resource.name
location = azurerm_resource_group.demo_resource.location
account_tier = "Standard"
account_replication_type = "LRS"
account_kind = "StorageV2"
}
The script needs a little explanation for starters. The first 3 lines instruct terraform that the library for the Azure Resource Management needs to be loaded. A library that abstract APIs to the terraform scripts, is referred to as a “provider” within terraform.
Lines 5-8 instruct terraform to create a new resource group with a specific name, in this case “demo-resource”, and within a specific region, “West Europe” for the purpose of this article.
Finally, from line 10 onwards, the script instructs terraform to create the demo storage account within the resource group previously created. Note that the resource group is referenced using the resource type followed by the name given to the resource, in the script.
Disclaimer: Terraform documentation is a good source to understand the syntax for different resources.
Now the fun starts.
Step 5: Initialising terraform process
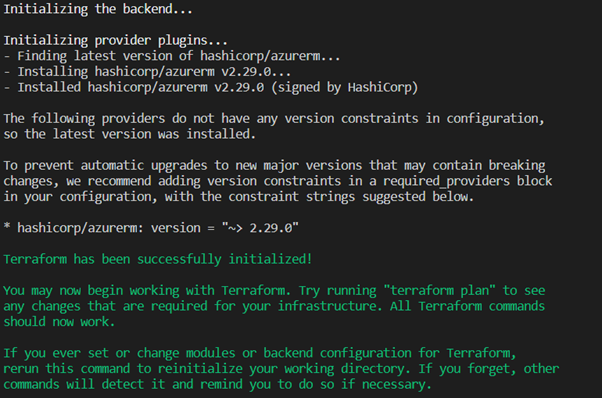
Once the background work has been completed. It is time to run the terraform process and have the environments created. The first step required is to initialise terraform and obtain the required providers. Running the command terraform init performs exactly this step.
Step 6: Check changes that will be applied
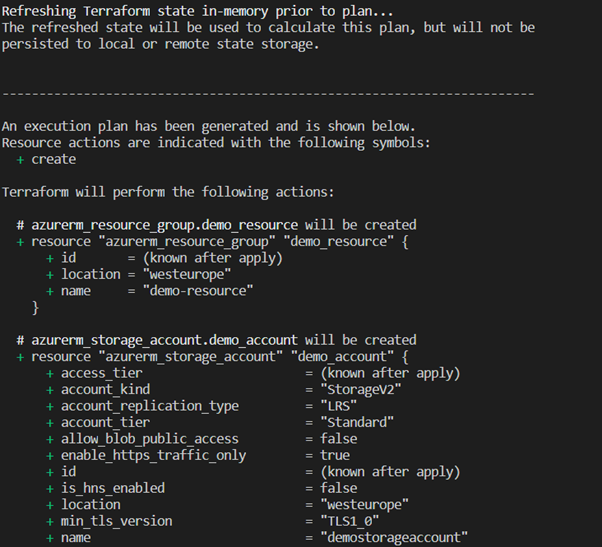
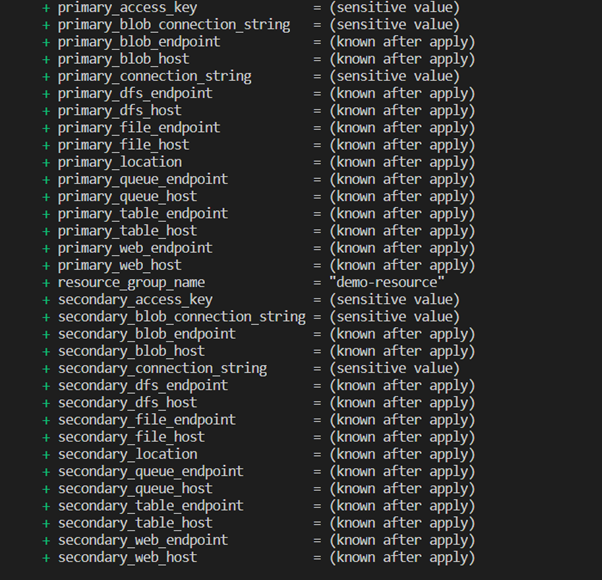
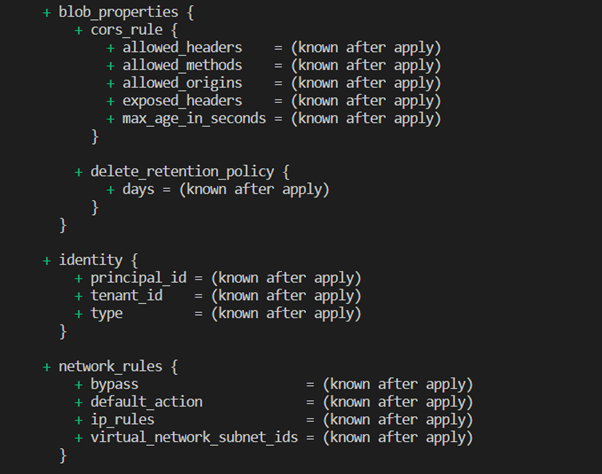
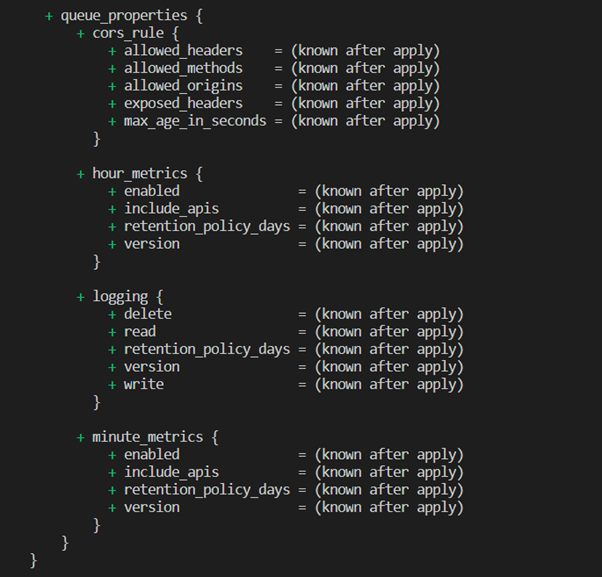
Before running the script transformation, it is ideal to check that everything is in order and that it will work. For example, the snippet in this article will raise an error that the storage account name is already taken by some other subscription, so it needs to be changed.
To check the scripts, the command terraform plan is executed.
Step 7: Apply the changes
Once the plan process reports that how many changes will be applied, it is time to perform the changes. As expected, this is performed by running the command terraform apply.
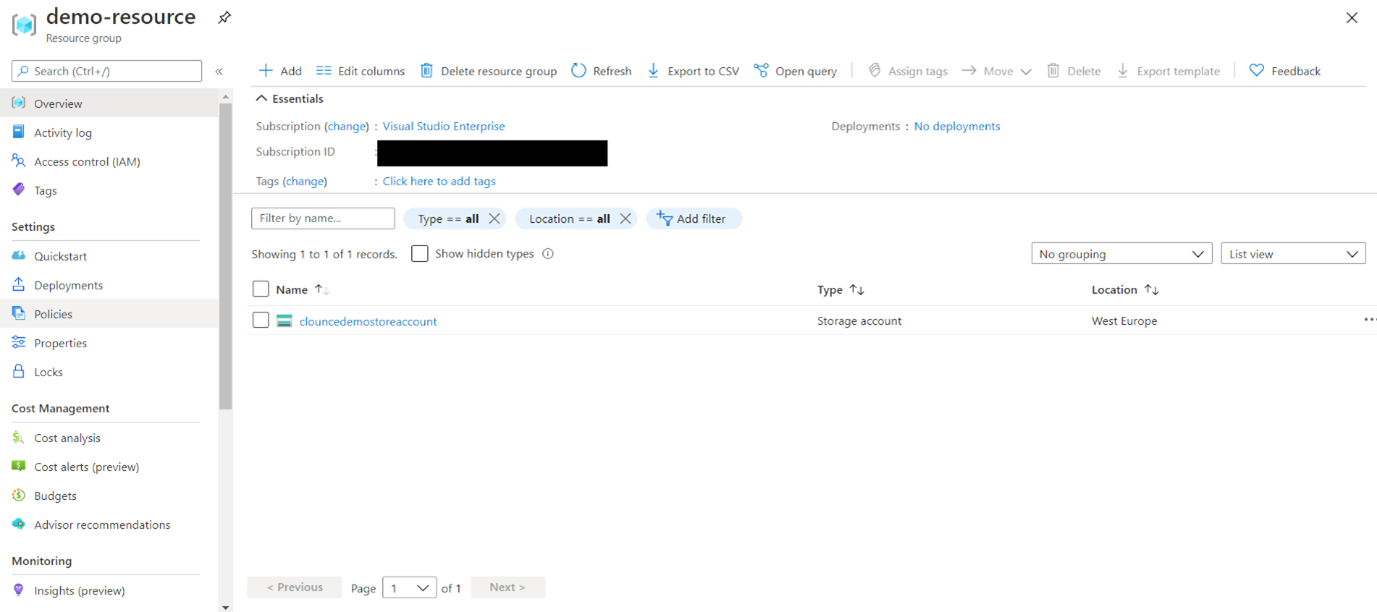
Now that the changes has been applied, the Azure environment has been updated with the resource group and storage account created in the script.
Run Summary
For visualization purpose and as an lt;dr; of the steps above below are the steps with sample command outputs. Note the outputs might be different based on your script and version.
Note: Terraform 0.13.3 has been used for this execution
Step 3: az login
Step 5: terraform init
Step 6: terraform plan
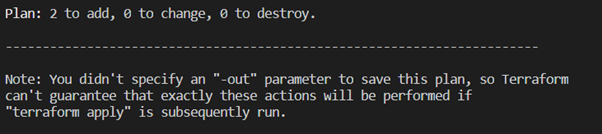
Step 7: terraform apply -auto-approve

Resource Screen in Azure Portal